Flash Fill Unit Troubleshooting

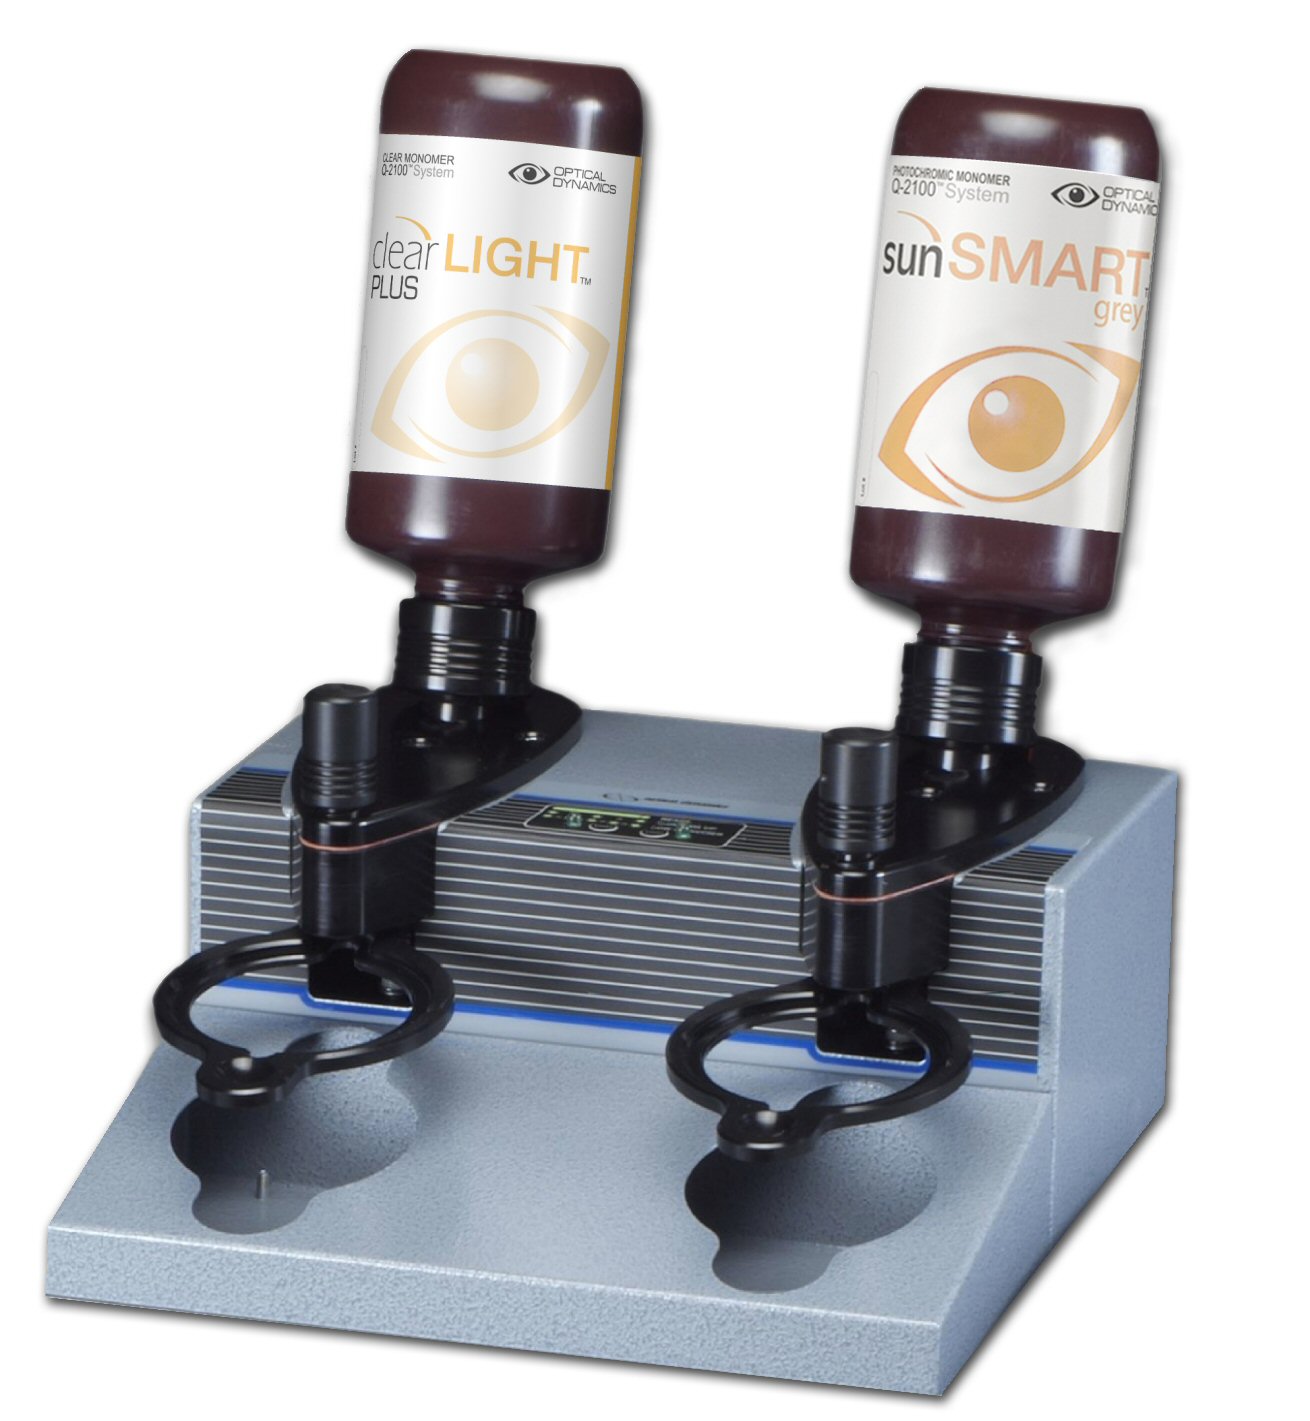
My flash fill stand will not turn on? First double check to make sure the unit is plugged in and the power switch is on. Next, double check the fuses in the back of the unit. If neither are the cause, please give the technical support department a call.

My flash fill stand seems to be leaking from the valve? First, make sure the valve is completely closed. Next remove the valve knob by twisting counter clockwise and pulling. Look to make sure that the two red rubber gaskets are seated inside the valve needle opening. Finish by cleaning the valve knob with IPA and a lint free cloth. If additional help is needed, please call technical support.

Understanding the Service Help Screen on your Q-2100: Codes 01, 02, 03

Each line in the menu is designed to display problems for specific machine functions. When the machine cannot accomplish a function it will indicate SERVICE on that particular line.

01 Post Cure Temperature

Cause: This message can be caused by leaving the Post Cure Drawer open for extended periods of time or the drawer being opened to frequently.

Response: (1) Follow the instructions given by the machine. (2) If the message comes back, please call Technical Support for further information 800-587-2743.

02 Light Intensity

Cause: The top Actinic, bottom Actinic and Post Cure bulbs all have photo detectors that monitor the intensity of the light coming from the bulbs. If this message occurs it means that one of the aforementioned sections is not producing an acceptable amount of light.

Response: (1) Follow the instructions given by the machine. (2) If the problem continues, check to see if all the bulbs in that section are working. If you have a bulb that is not working, check to see if the bulb has become loose in the lamp holders. (3) If the bulb feel tight in the lamp holders, witch the bulb with a different bulb in that section that you know is working. This will determine if it is just the bulb that has blown out of if it is the machine that has a malfunction. (4) For any further information or if parts need to be ordered call Optical Dynamics 800-587-2743.
03 Lamp Power

Cause: At lease one of the lamps in the top Atinic, bottom Actinic or Post Cure sets is not receiving power.

Response: (1) Follow the instructions given by the machine. (2) If the problem continues, check to see if all the bulbs in that section are working. If you have a bulb that is not working, check to see if the bulb has become loose in the lamp holders. (3) If the bulb feels tight in the lamp holders, switch the bulb with a different bulb in that section that you know is working. This will determine if it is just the bulb that has blown or if it is the machine that has a malfunction. (4) For any further information or if parts need to be ordered call Optical Dynamics 800-587-2743.

Lens Troubleshooting

Question: I have a lens that is “speckled”, what can cause this and what can I do?

Possible Causes: Lens was removed from the annealing stages and cooled under running water while too hot. If a lens is cooled under running water while hot, it may have a “speckled” appearance caused by localized differences in the rates of cooling of the lens surface. These speckles can be numerous, irregularly shaped.

Solution: The lenses should be air cooled for several minutes before running water over them. If you have a “speckled” lens, returning it to the annealing oven for 5 to 10 minutes will usually eliminate the issue

Lens Troubleshooting

Question: I have a lens that seems to have an aberration?

Possible Cause #1: Contaminants on the lens

Solution: Before annealing – If the lens is not properly cleaned before the annealing step, the contaminants may cause an optical defect. Carefully clean all lenses before annealing.

After annealing – A common error that can cause a defect is for an operator to lift up the lens from underneath with a fingertip when removing from the annealing stage of the Post Cure chamber. This can leave a permanent mark on the lens where touched, particularly if there was any lens monomer on the gloved fingertip. When removing the lens from the annealing stage, remember to handle the edges only.

Possible Cause #2: Pre-released lens

Solution:  Improper mold cleaning – Follow proper mold cleaning and preparation procedures.

Improper job queuing – If a job is run out of order, the initial curing step may cause the wrong amount of light to be directed toward the mold assembly, resulting in an increased possibility of a pre-release. Always follow the proper production sequence.

Wrong mold or gaskets selected – If the wrong mold or gaskets are used, the lens will be too thick or thin. Make sure to double check your mold and gasket selection as part of the production process.

Changing Main Chamber Actinic Lamps

1. Follow the steps outlined in the Service Help Screen for “Lamp On Time”.

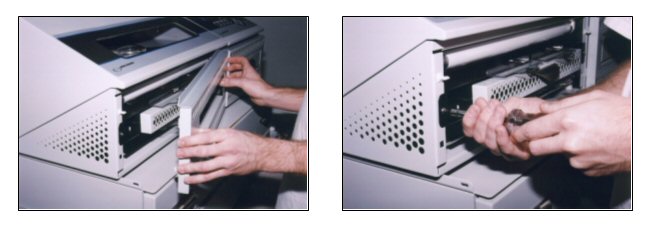
2. Remove the Main Chamber face plate by pulling it off

3. Remove the two screws on the front of the Main Chamber

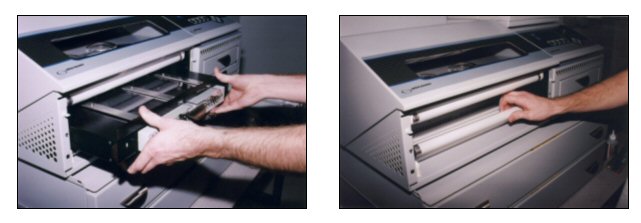
4. Gently pull out the drawer assembly

5. Remove the lamps by twisting them and then gently pulling them from the lamp holders

6. Install new lamps by pushing them into the lamp holders and twisting them in to lock them

7. Make sure new bulbs are securely installed before continuing

8. Reinstall the drawer assembly when all required bulb changes are complete

9. Make sure drawer assembly screws are reinstalled and tightened

10. Snap the Main Chamber face plate back on

Maintenace Schedule nanoCLEAR AR

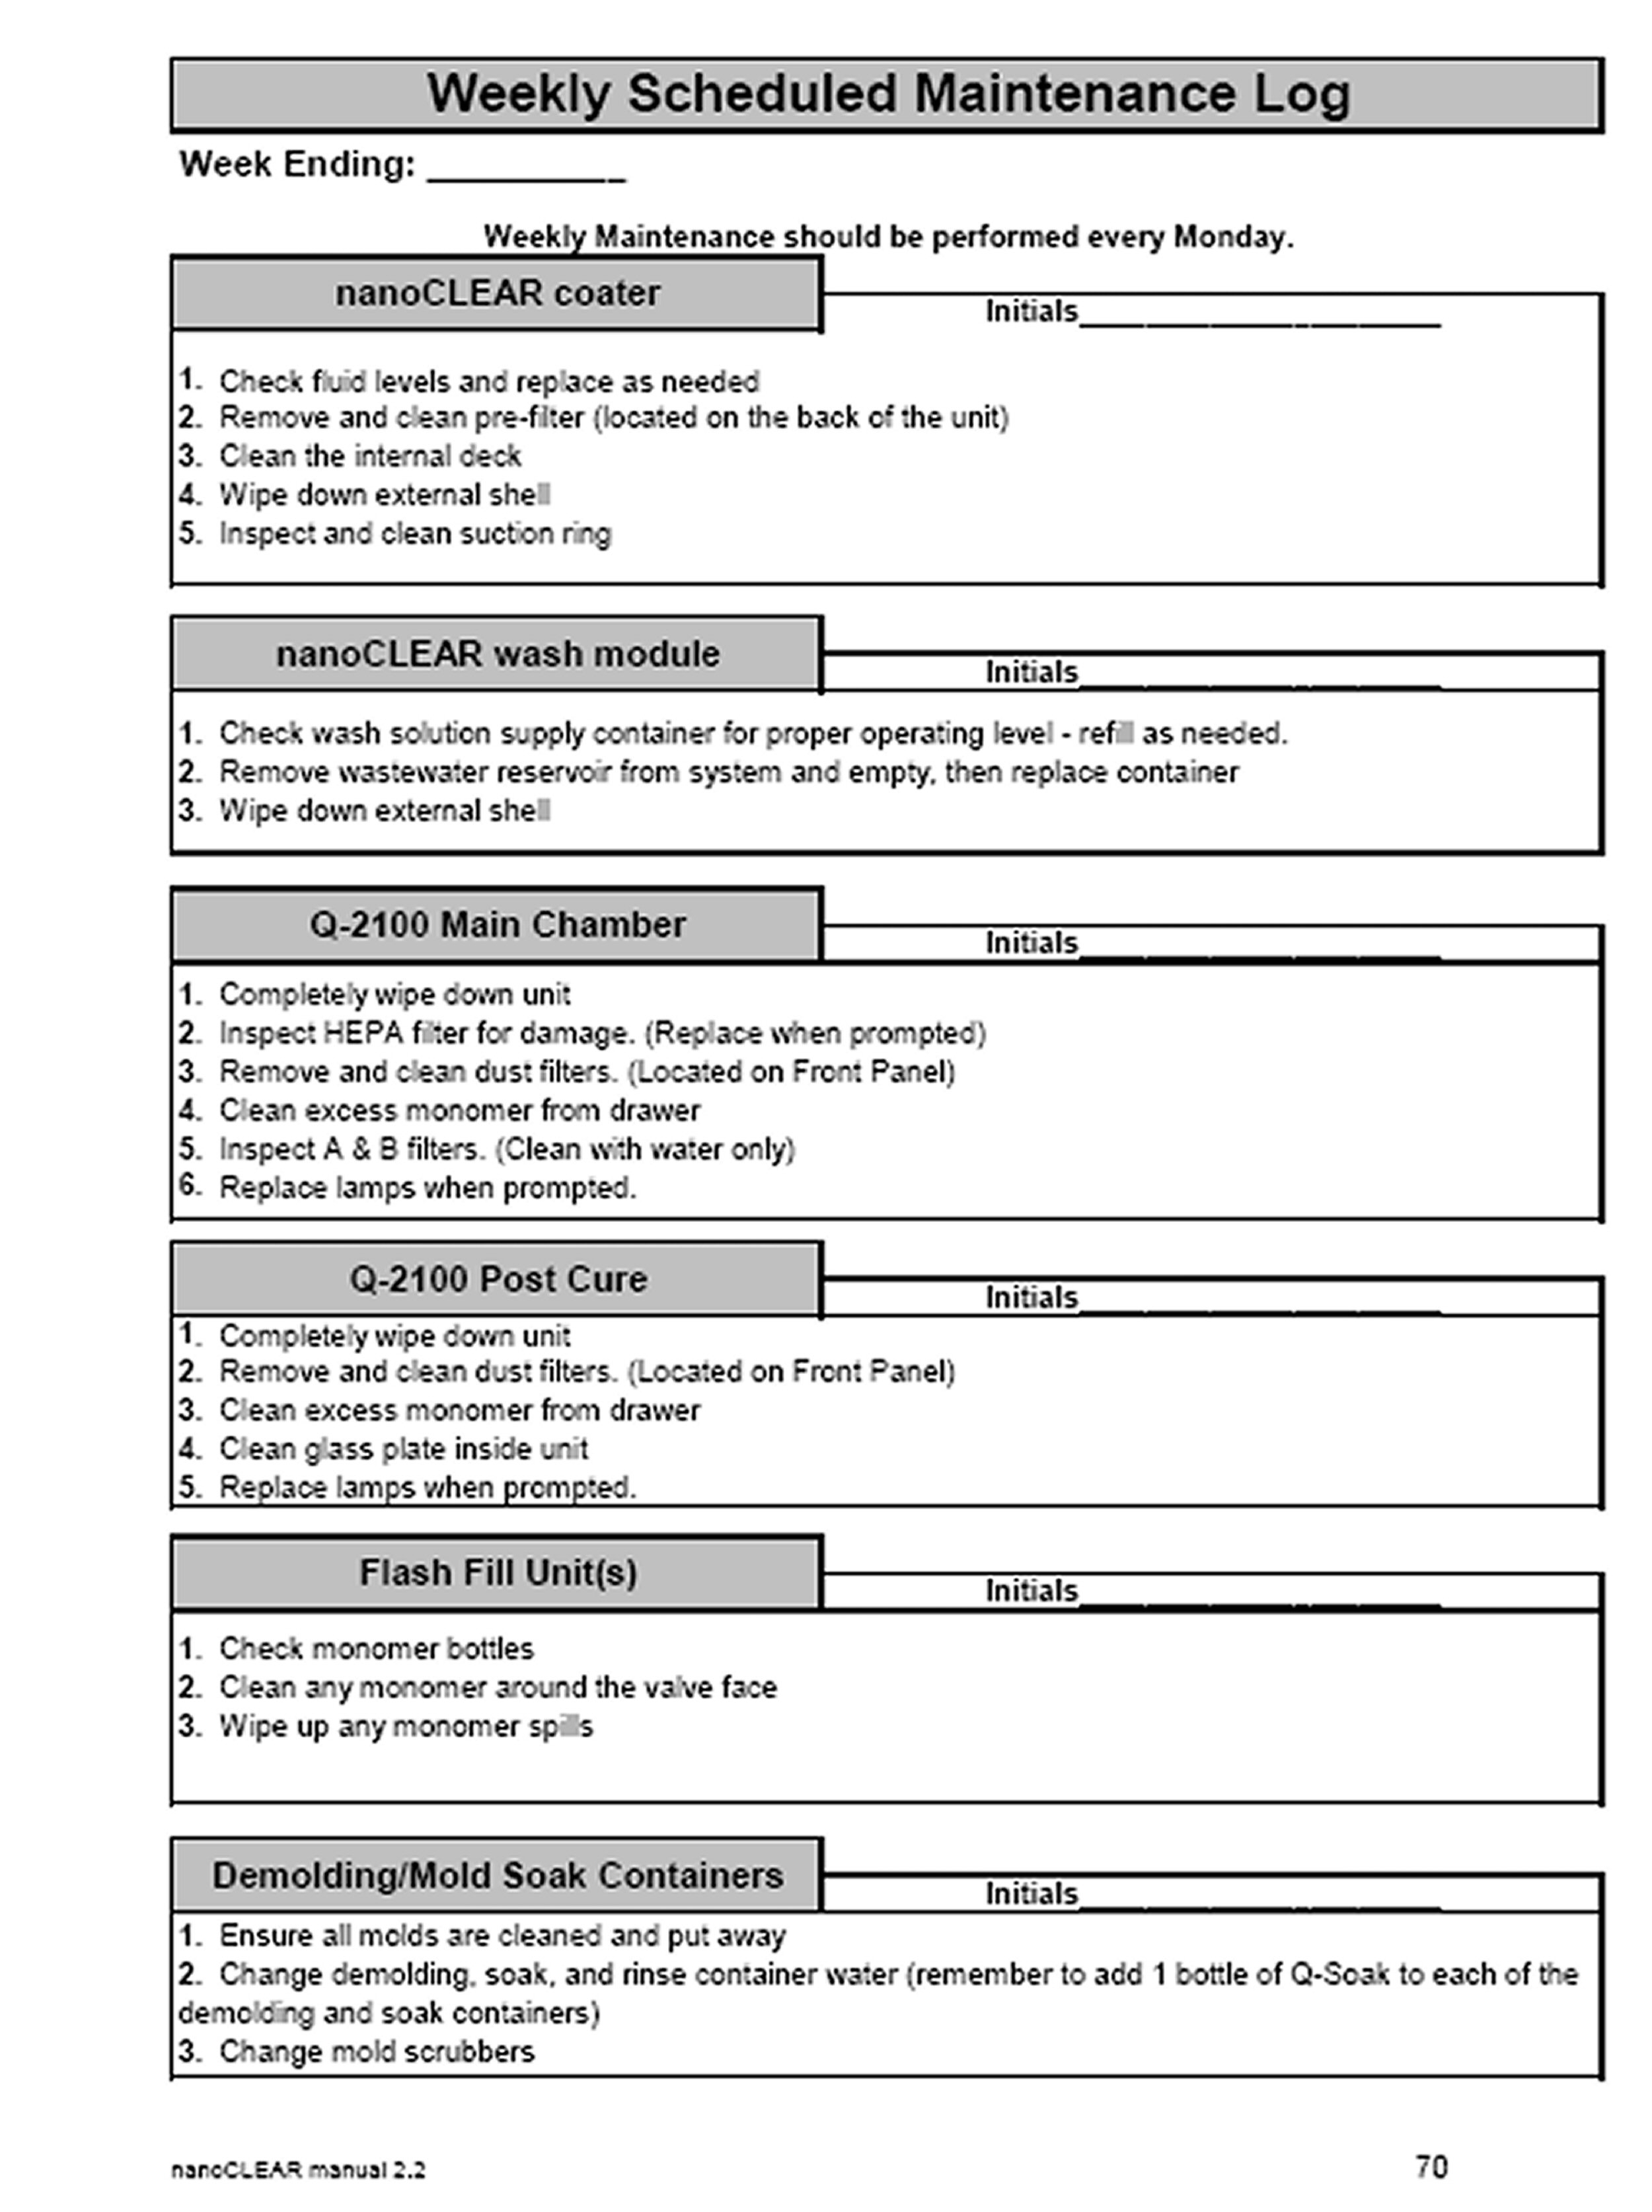
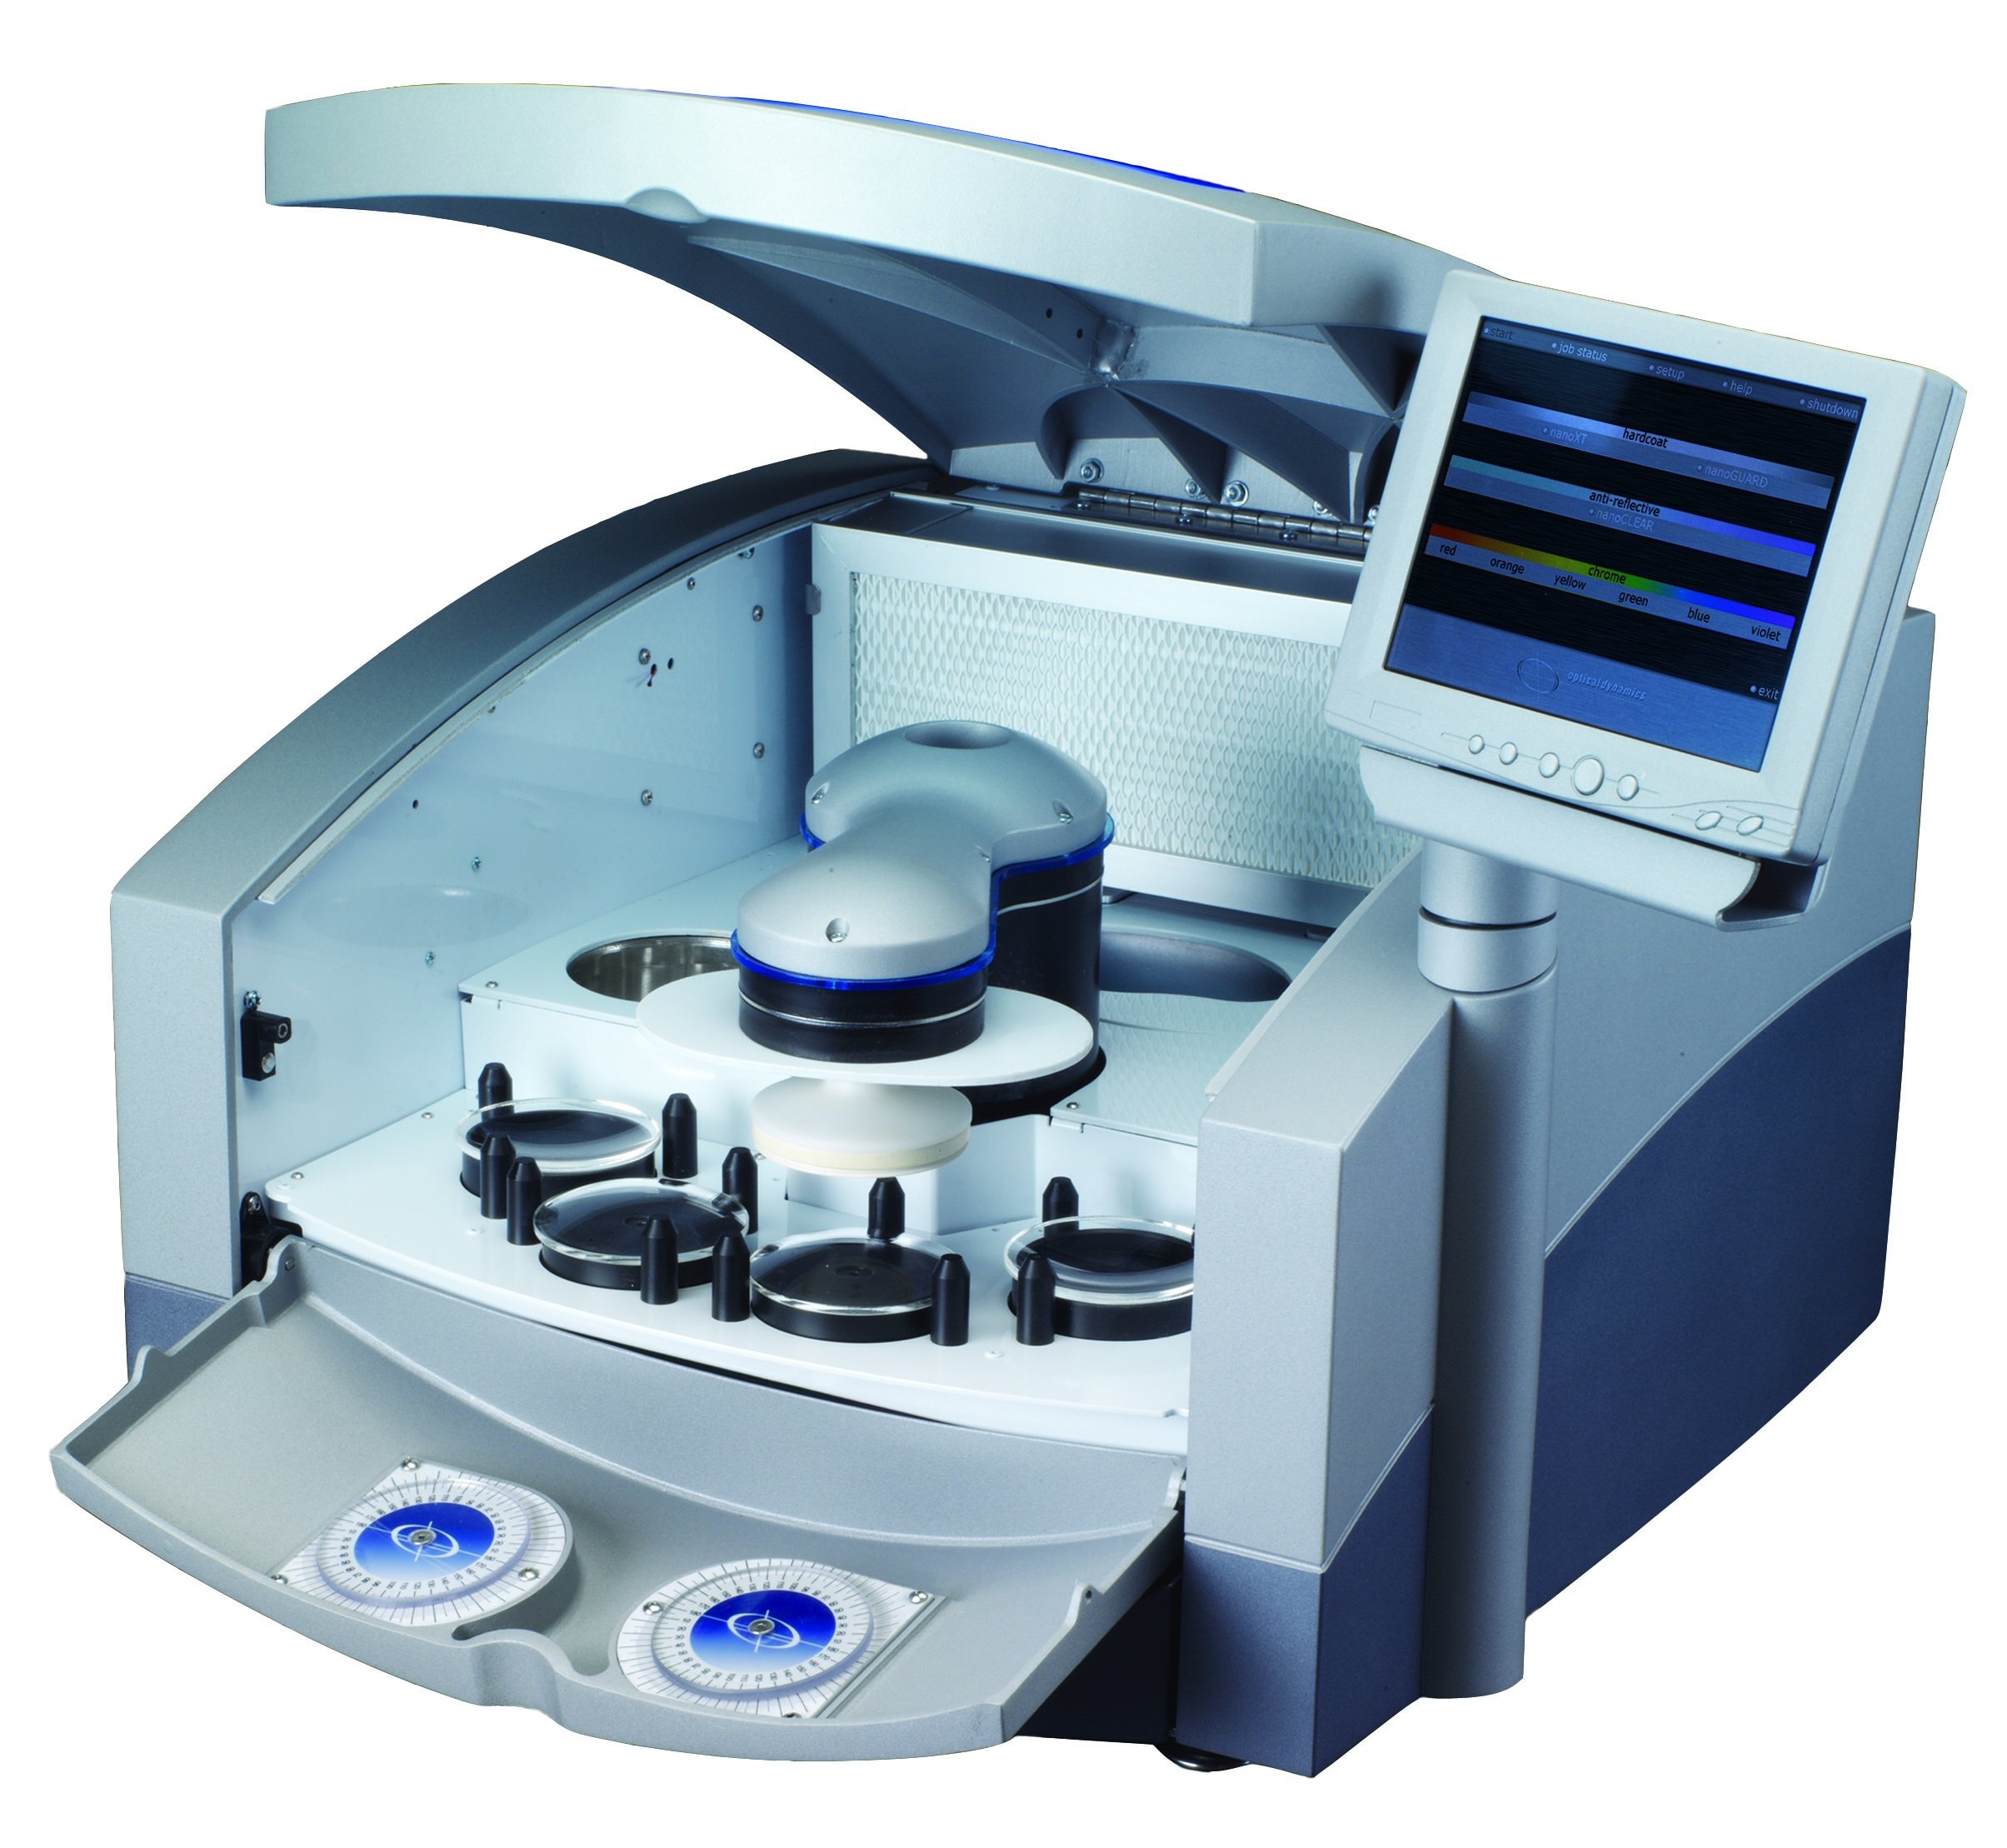
You should always do your best to stay on top of your daily and weekly maintenance schedules for the nanoCLEAR AR unit.

By adhering to the schedule you can help ensure that your equipment continues to function at peak performance levels.


DAILY- nanoCLEAR AR Unit

  1. Check fluid levels and replace as needed
  2. Clean the internal deck
  3. Wipe down external shell
  4. Inspect and clean suction ring

Daily – nanoCLEAR Wash Module

  1. Check wash solution supply container for proper operating level – refill as needed.
  2. Remove waste water reservoir from system and empty, then replace container
  3. Wipe down external shell

Weekly – nanoCLEAR AR Unit

  1. Remove and clean pre-filter (located on the back of the unit)


Remember to Always Complete the Annealing Process

Annealing is an integral step in production and should always be completed.  The procedure relieves the stress from the lens necessary to reach its final power.  Annealing is also an important part of the nanoCLEAR AR process, helping to strengthen the AR and to finalize the hydrophic top coat application.

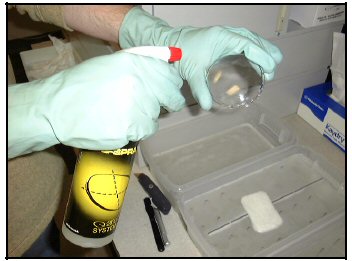
After demolding the lens must be cleaned to remove monomer residue and flashing. If not cleaned properly, the residue may harden on the surface of the lens during annealing leaving a permanent defect. To produce a tack free, easily cleaned edge, we recommend the use of a handstone or the cribbing of the lens on an edger. Spray Q-Spray on the edged lens and thoroughly clean it before continuing. Dry the lens with a lint free cloth.

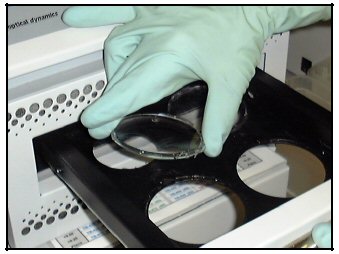
Place the newly demolded and cleaned lenses into the anneal positions (the back two positions in the drawer of the post cure chamber) and press the ANNEAL button. Rotate the knob to scroll through multiple jobs (if they are available for annealing) and press the ANNEAL button when the proper job is displayed. Press ANNEAL again to start the timed annealing cycle. The end-of-cycle tone will sound when the process is complete. Press the ANNEAL button  to stop the tone. Remove the lenses from the post cure drawer and place them in the job tray. Allow the lenses to cool to room temperature before edging and insertion.