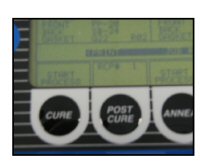
Understanding the Service Help Screen on your Q-2100: Codes 07, 08, 09, 10

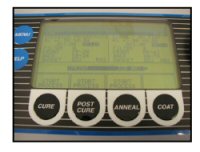
Each line in the menu is designed to display problems for specific machine functions. When the machine cannot accomplish a function it will indicate SERVICE on that particular line.

07 Lamp Temperature

Cause: One of the lamp sections is generating too much heat

Response: (1) Follow the instructions given by the machine. (2) For any further information or if parts need to be ordered call Optical Dynamics Technical Support for further information 800-587-2743.

08 Line Voltage

Cause: Electricity is not reaching all of the components of the Q-2100

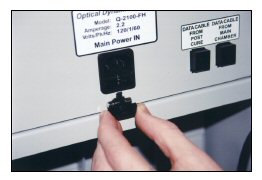
Response: (1) Follow the instructions given by the machine. (2) Make sure all power cords are securely connects. (3) For any further information or if parts need to be ordered call Optical Dynamics Technical Support 800-587-2743.

09 Communication

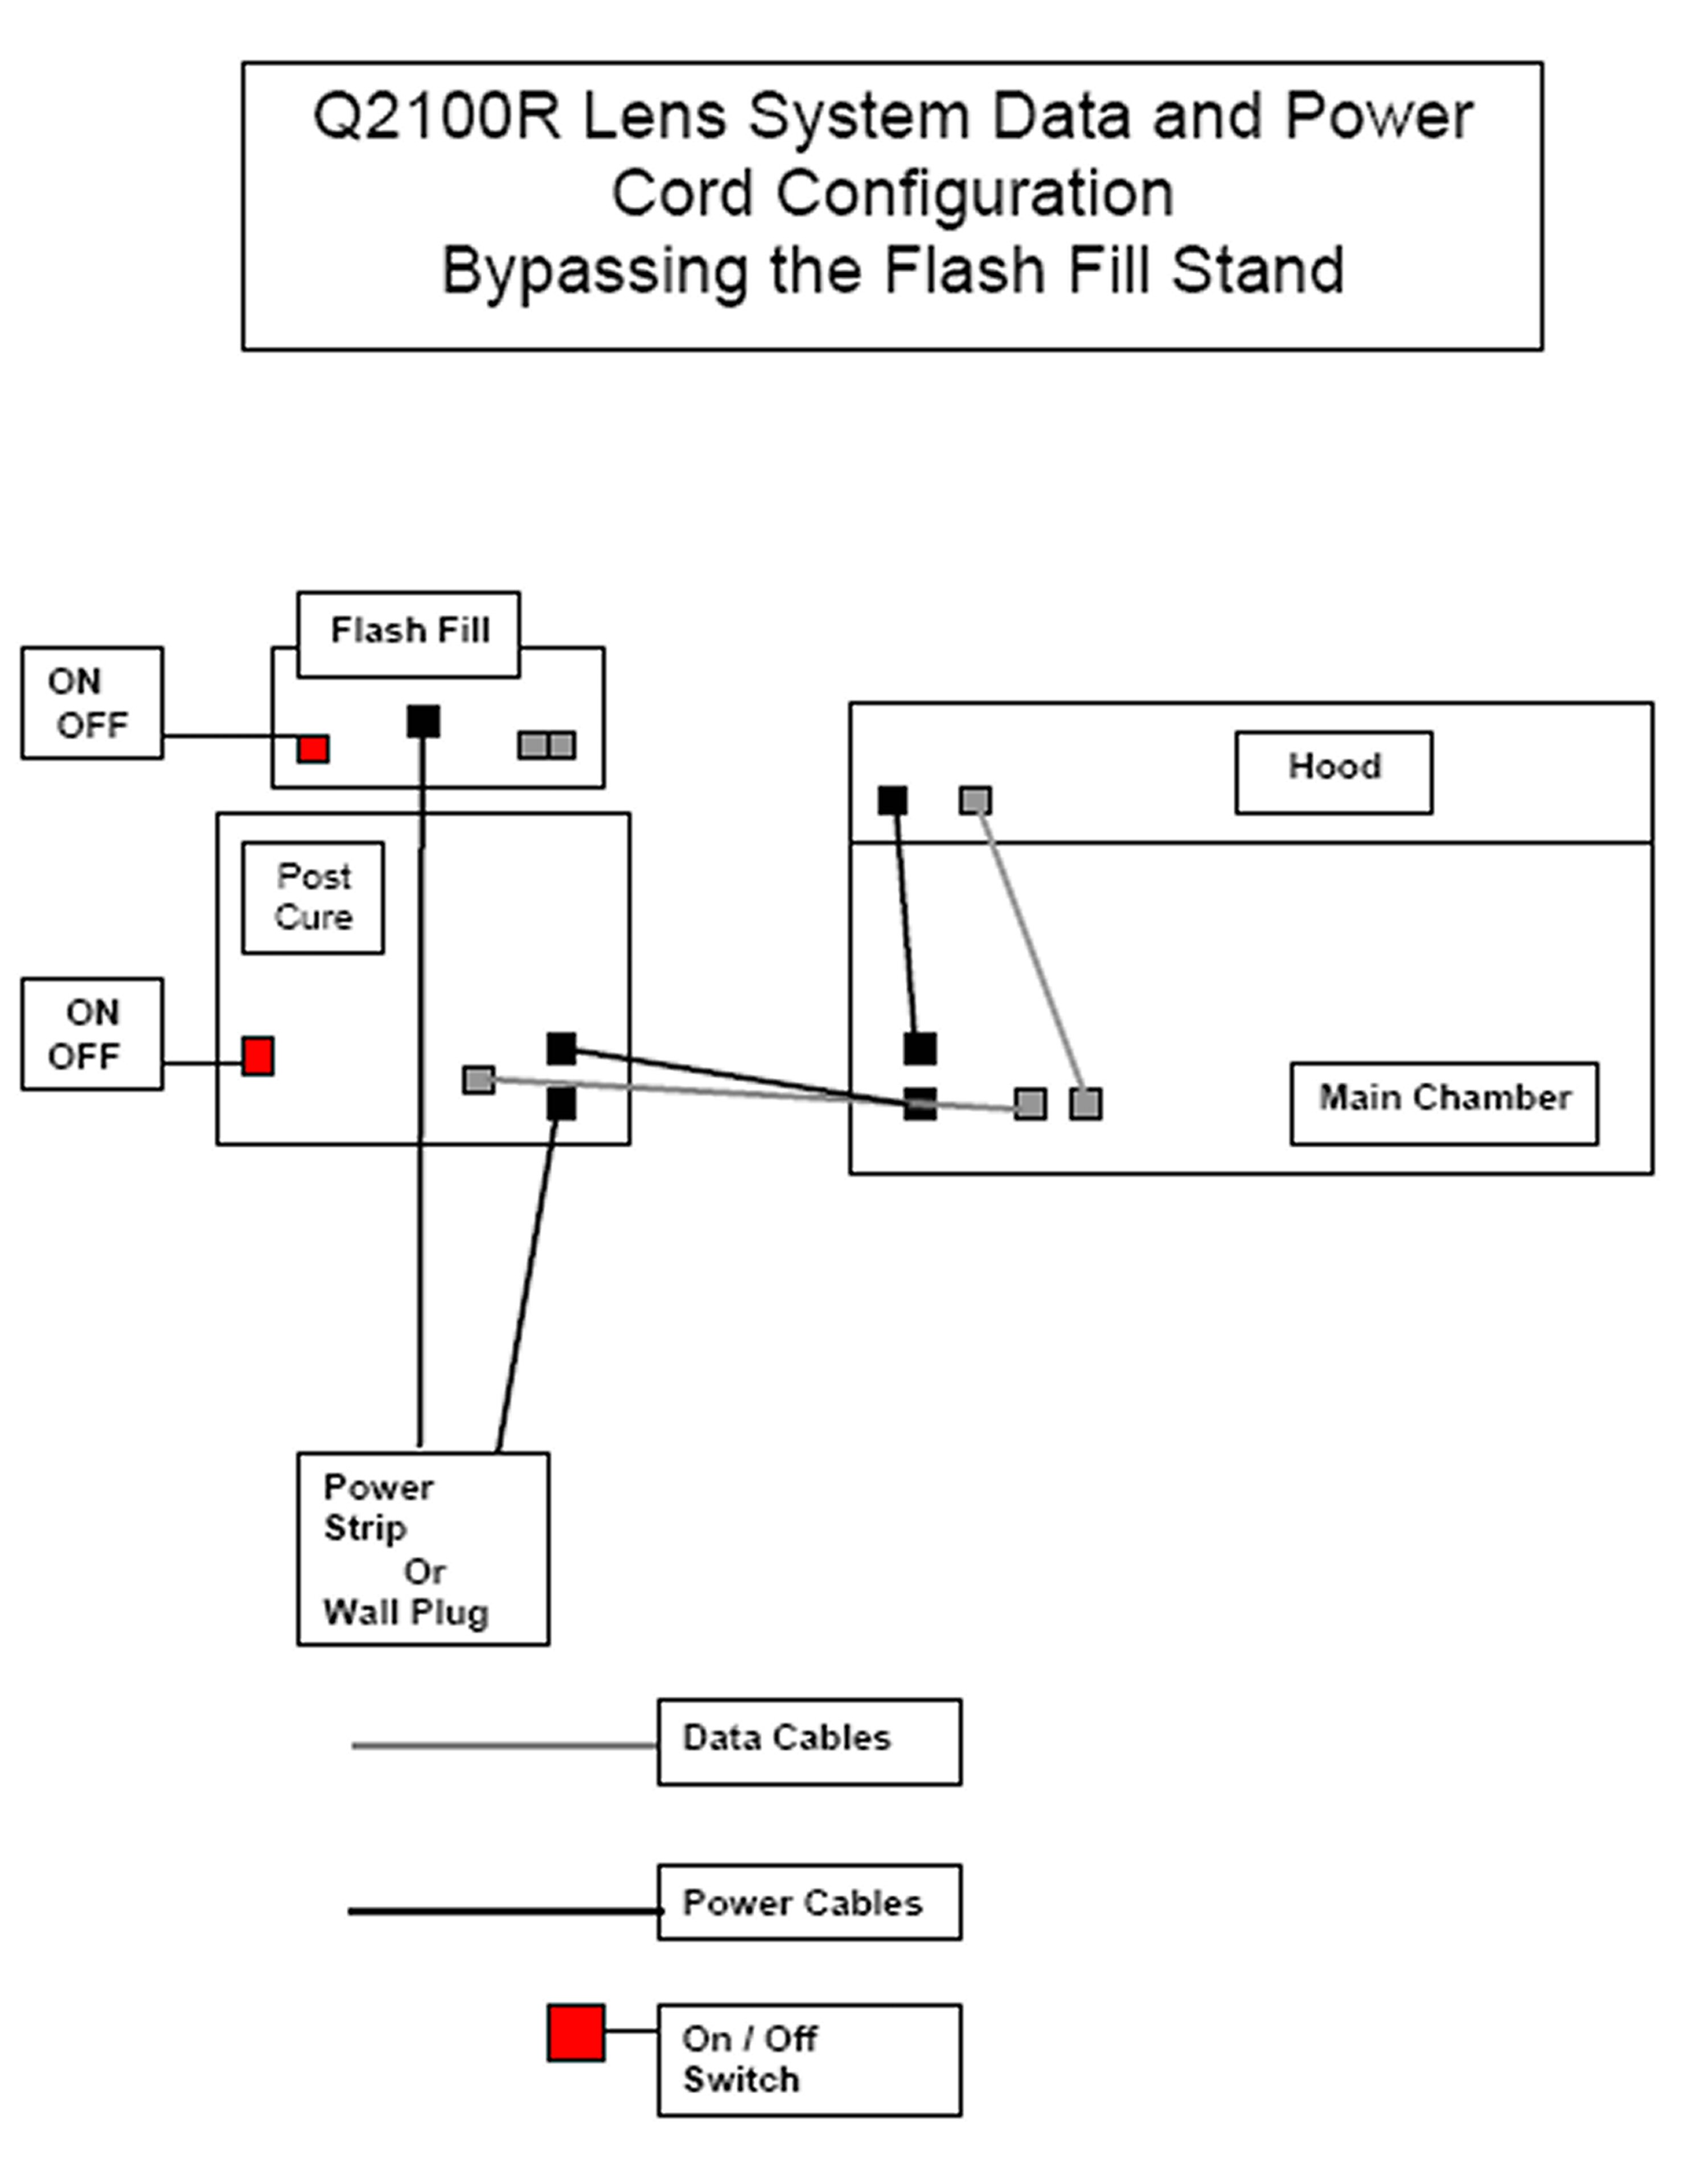
Cause: A communication error occurred between the Post Cure unit and one of the other system components.

Response: (1) Follow the instructions given by the machine. (2) For any further information or if parts need to be ordered call Optical Dynamics 800-587-2743.

10 Replace Hood Filter

Cause: The effective life of the air filter in the Main Chamber hood is expired. The filter must be replaced.

Response: (1) Follow the instructions given by the machine. (2) For any further information or if parts need to be ordered call Optical Dynamics 800-587-2743.

Keep Your Q-2100 Looking Like New!

Don’t forget to regularly clean your Q-2100 Digital Lens System. The production process involves varying materials that produce small amounts of debris with each job processed. Buildup and leftover residue can cause your unit to perform below its optimal levels. Keep your system looking  and running like new with the following daily & weekly tasks.

Daily Maintenance

  • Keep production area and machines clean wiping up any spills
  • Remove and clean out excess fluid from the spin bowls and blot dry
  • Clean excess coating build up from the spin stages
  • Wipe down the drawers in the main chamber and post cure chamber
  • Visually inspect the filter plates for any residue and wipe clean with Kaydrys and Q-Spray if necessary
  • Ensure that all molds are cleaned and returned to the mold storage cabinet and never leave molds to soak overnight
  • Top off all cleaning solutions and monomer as needed

Weekly Maintenance

  • Remove the Q-2100’s front panels and visually inspect the air filters. Clean the filters with tap water and a mild soap if necessary. Blot dry and allow to dry overnight before returning to the panel
  • With the oven at room temperature, clean the glass plate in the top of the oven box (DO NOT attempt to clean the glass while the oven is hot). Use Q-Spray and a clean, nonabrasive cloth to clean. Reinstall the front panels
  • Change Q-Soak solutions at least once per week unless required more frequently due to volume or contamination
  • Remove spin bowls to soak overnight in a separate tub or bucket and then scrub with a scrub pad and rinse with hot water. Due to volume or debris build up this process may be required more frequently than once per week.
  • Change scrub pads as needed

nanoCLEAR AR Alarm – Suction Rings?

Topic: My nanoCLEAR AR system was running a job when I received the following message: MOLD DID NOT RELEASE FROM SUCTION, what does this mean?

The Reason Why: The mold the system has just coated is stuck to the suction ring and is not releasing into the mold stage. As you run jobs, costing adheres to the edge of the suction ring which can become sticky making it difficult to release the mold.

The Fix: As part of daily maintenance, the suction ring should be removed at the end of each production day and inspected. If the suction ring shows coating build up, it should be cleaned and scrubbed in your Q-soak tub. The suction ring is a disposable item and should be replaced when coating cannot be easily removed. It is also good practice when placing a new suction ring on your system to clean it with the same process to ensure proper suction with the surface of the mold. Remember to always keep an extra suction ring in inventory so you can pull as needed.

Topic: My mold was going through the coating cycle when I received the following message: MOLD DROPPED DURING CYCLE

The Reason Why: The mold has released from the suction ring during the process as the suction pressure has been compromised.

The Fix: When you remove the suction ring at the end of day to inspect, check for any cracks in the surface of the ring. Overtime, the ring may become cracked, causing the suction ring to lose vacuum pressure. If this is the case, dispose of the old suction ring and replace it with a new ring. As mentioned above, remember to clean the new ring in your Q-soak tub to ensure proper suction. Always keep an extra suction ring in inventory for ongoing production.

Mold Cleaning & Storage

Molds normally have residue and flashing on the surface and edges after use. All debris must be removed before the molds can be used again successfully. Clean molds must be stored properly to ensure mold safety while not in use. Additionally, proper mold storage simplifies the picking process when the mold is needed again.

Mold should be left in the soaking containers for at least 5 minutes before cleaning.

Scrub molds thoroughly with the disposable mold scrubber supplied by Optical Dynamics. Never use other types of pads as mold damage may occur. Pay special attention to edges and segment line when cleaning. Rinse the molds with running water if it is available. If running water is not available, use a container of tap water to rinse the molds (change the rinse container water frequently). Spray the rinsed molds immediately with Q-Spray and wipe them dry. NEVER store a wet mold or permanent water spotting may occur.

It is very important that all molds are stored properly and organized. Each space in a mold storage drawer is labeled for one specific mold. Make sure the mold you place there is the right one.

Once clean and dry, read the mold designation near the edge of the mold and find the proper location in the storage unit. Put the mold back into its wrapper (to help protect from dirt and scratching) and gently put into the alloted space.

Steps to Demolding

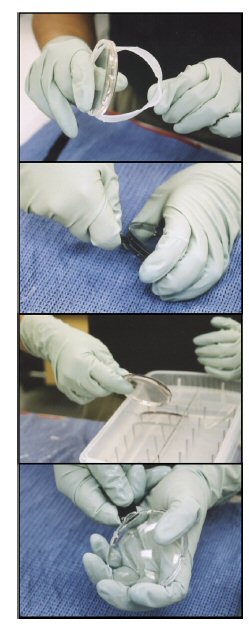
The monomer inside the cavity has been solidified during the curing cycle. Once the curing cycle is complete, the mold cavities are demolded to expose the lens surface. The assembly should be separated while still warm. Try not to “force” molds off the lens. If a mold does not release, simply return it to the soaking container and try again.

Start with the right cavity. Peel off the gasket. Wipe the edge of the lens with a lint free cloth to remove monomer residue.

Sseparate one of the molds from the assembly with the demolding tool. Insert the tool into the notch located opposite the fill port. Only use the tool as a wedge or to pry. If a mold does not come off, soak the entire assembly for at least 30 seconds in the demolding container and try again.

Put the freed mold in the soaking container for later cleaning and place the remaining mold/lens assembly to soak for at least 1 minute. The lens will release from the remaining mold.

If the last mold does not come off after soaking in the demolding container, try to gently using the demolding tool.

Put the molds in the soaking tub and the lens back in the job tray. Repeat this process for the left side. The molds should all be in the soaking tub and the lenses in the job try when you finish this step.

Understanding the Service Help Screen on your Q-2100: Codes 04, 05, 06

Each line in the menu is designed to display problems for specific machine functions. When the machine cannot accomplish a function it will indicate SERVICE on that particular line.

04 Filament Heat Power

Cause: At lease one of the lamp filaments is not receiving continuous power. The filaments help the bulbs to light up.

Response: (1) Follow the instructions given by the machine. (2) For any further information or if parts need to be ordered call Optical Dynamics Technical Support for further information 800-587-2743.

05 Lamp On Time

Cause: The effective life of a set of lamps has been exceeded.

Response: (1) Follow the instructions given by the machine. (2) For any further information or if parts need to be ordered call Optical Dynamics Technical Support 800-587-2743.

06 Post Cure Heaters

Cause: At lease one of the Post Cure heaters is not receiving power.

Response: (1) Follow the instructions given by the machine. (2) For any further information or if parts need to be ordered call Optical Dynamics 800-587-2743.

Flash Fill Unit Troubleshooting

My flash fill stand will not turn on? First double check to make sure the unit is plugged in and the power switch is on. Next, double check the fuses in the back of the unit. If neither are the cause, please give the technical support department a call.

My flash fill stand seems to be leaking from the valve? First, make sure the valve is completely closed. Next remove the valve knob by twisting counter clockwise and pulling. Look to make sure that the two red rubber gaskets are seated inside the valve needle opening. Finish by cleaning the valve knob with IPA and a lint free cloth. If additional help is needed, please call technical support.

Understanding the Service Help Screen on your Q-2100: Codes 01, 02, 03

Each line in the menu is designed to display problems for specific machine functions. When the machine cannot accomplish a function it will indicate SERVICE on that particular line.

01 Post Cure Temperature

Cause: This message can be caused by leaving the Post Cure Drawer open for extended periods of time or the drawer being opened to frequently.

Response: (1) Follow the instructions given by the machine. (2) If the message comes back, please call Technical Support for further information 800-587-2743.

02 Light Intensity

Cause: The top Actinic, bottom Actinic and Post Cure bulbs all have photo detectors that monitor the intensity of the light coming from the bulbs. If this message occurs it means that one of the aforementioned sections is not producing an acceptable amount of light.

Response: (1) Follow the instructions given by the machine. (2) If the problem continues, check to see if all the bulbs in that section are working. If you have a bulb that is not working, check to see if the bulb has become loose in the lamp holders. (3) If the bulb feel tight in the lamp holders, witch the bulb with a different bulb in that section that you know is working. This will determine if it is just the bulb that has blown out of if it is the machine that has a malfunction. (4) For any further information or if parts need to be ordered call Optical Dynamics 800-587-2743.

03 Lamp Power

Cause: At lease one of the lamps in the top Atinic, bottom Actinic or Post Cure sets is not receiving power.

Response: (1) Follow the instructions given by the machine. (2) If the problem continues, check to see if all the bulbs in that section are working. If you have a bulb that is not working, check to see if the bulb has become loose in the lamp holders. (3) If the bulb feels tight in the lamp holders, switch the bulb with a different bulb in that section that you know is working. This will determine if it is just the bulb that has blown or if it is the machine that has a malfunction. (4) For any further information or if parts need to be ordered call Optical Dynamics 800-587-2743.